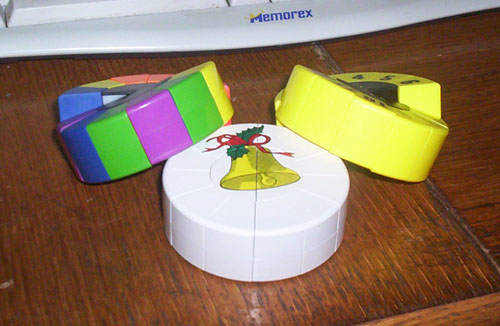
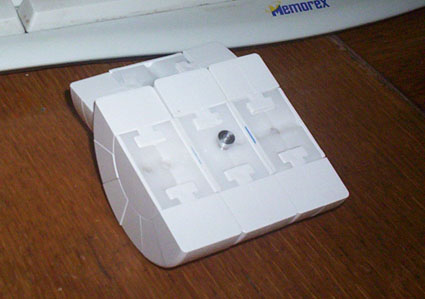
Ever curious to see what makes things tick, it didn't take long before I was curious about the puzzle modding potential of the Puck. The first step is of course disassembly. Fortunately taking apart the Puck is very easy.
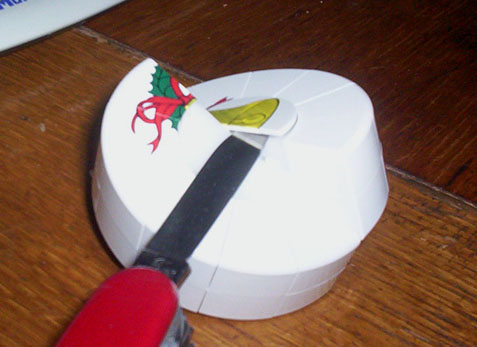
Simply slice the puzzle slightly and use a thin bladed tool to gently lift up the center piece. Be sure to lift off the piece straight up as possible. If you try to lift one edge off at a Time, you risk bending the three small pins that secure the plate to the center hub and that could be a bad thing.
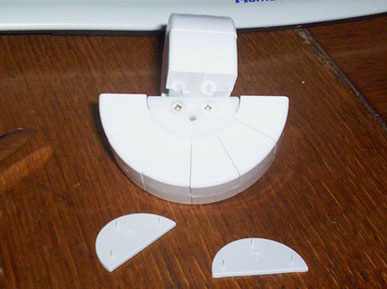
Once you remove the plates you should easily find the four phillips head screws that hold together the two-piece halves of the hub.
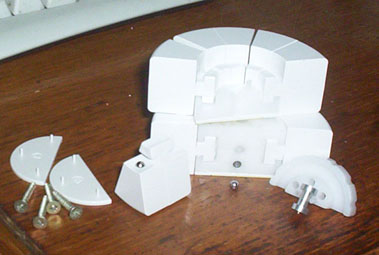
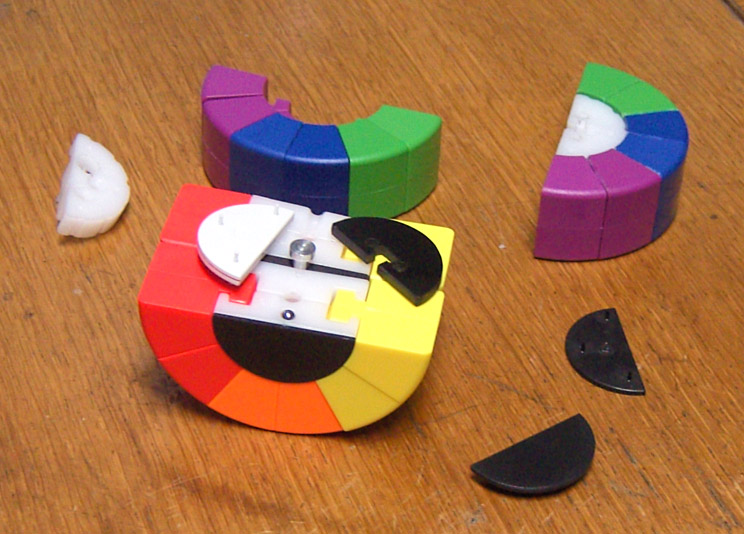
Take stock of all of the pieces of the puzzle and make sure you identify the small metal pieces There are four screws, two small steel bearings, two small springs, and one aluminum joint. One of the twelve slices of The Puck also contains a hole that holds the second spring and bearing.
Now it's Time to have a little fun. Due to the construction of the slices and the way they secure themselves to the hubs, it's possible to stack hubs together to create extra layers for the puzzle.
3 Layer Puck
The simplest extra layers mod is the 3-layer version of the Puck. Attaching the outer layer hubs to the center hub might be a bit difficult if you just rely on an adhesive, but it should be possible. The hubs themselves are made from a hard, slick plastic so won't take well to gluing. It might be better to carefully drill into the hub and use countersunk screws to attach the extra hubs on.
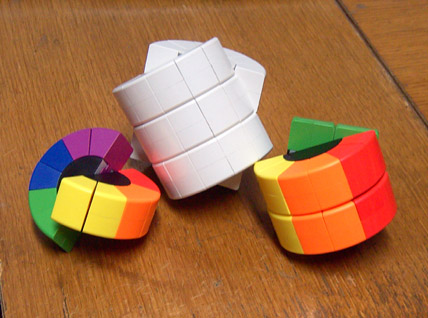
As an exercise we see here one half of a 3-layer puck that's been lightly bonded together. If you plan on using the small bearings for the "click" feel, it might not be worth it depending on how good your particular puck was to begin with. Stick a bearing only in the center hub. Putting bearings/springs into the extra layers might cause problems later due to slight gaps that may cause a bearing to jam or pop out. A different issue applies to the slice with the bearing. Depending on the position of the pieces the slices with a bearing may all end up on the same layer, thus changing the feel of the puzzle. It might be best to leave the slices completely without a bearing.
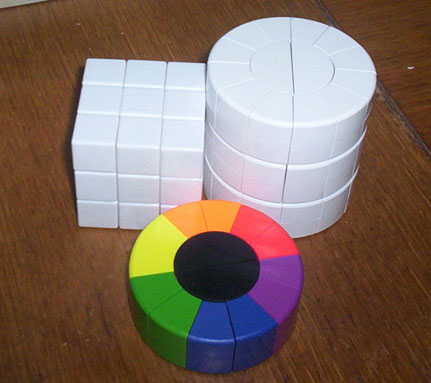
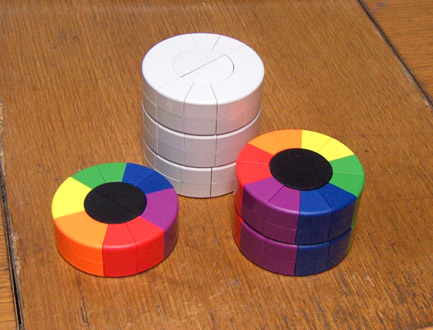
Our little experiment complete, our "for fun" 3-layer Puck is now complete. Using three rainbow pattern Pucks would have certainly yielded a much more colorful puzzle and is probably the best choice for someone looking to assemble a sticker-less version. For smoother turning, slightly round off any edges on the insides of the pieces to allow the pieces to move across each other more smoothly.
2 Layer Puck
Next up, we shall explore the 2-layer Puck and how it only takes a litle more work to pull off. It takes a little extra work since the plastic has to be slightly modified, but done carefully the end result should be a better feeling puzzle than the 3-layer version.
How does one create the 2 layer version? Basically you have to create a middle layer that is the central point of rotation for the center aluminum joint. You can either use two small pieces of 1/8" thick plastic sheets or you can glue together two center caps back to back. Once you have the middle layer you just need to carefully cut a space to hold the center joint.
A bit of plastic also needs to be removed from the central hubs to allow the center joint to fit snugly between the two puzzle layers. Take your Time as it only takes half hour to an hour at most to create this central layer and make space. If the pieces are loose then your puzzle will be loose and slightly misaligned.
Reassembling the puzzle is straightforward much like the 3 layer version. You can use a bearing in one of the hub layers for the click feel, but it would probably be better to keep the bearing closer to the central joint than farther. In other words, don't use my picture above as the guide to where the central bearing should be. If the tolerances of your 2 layer puzzle are slightly loose, then having the bearing on one of the outside halves could possibly bind your puck.
4 Layer Puck
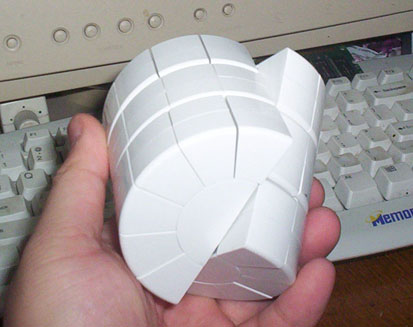
Finally we have the 4 layer puck. There is nothing of any extra challenge when it comes to building this puzzle. Simply add on extra layers to the 2 layer puck in the manner described in the 3 layer puck section. You can see a mockup below with a slight twist to illustrate that the pieces on the outside layers are still held in place.
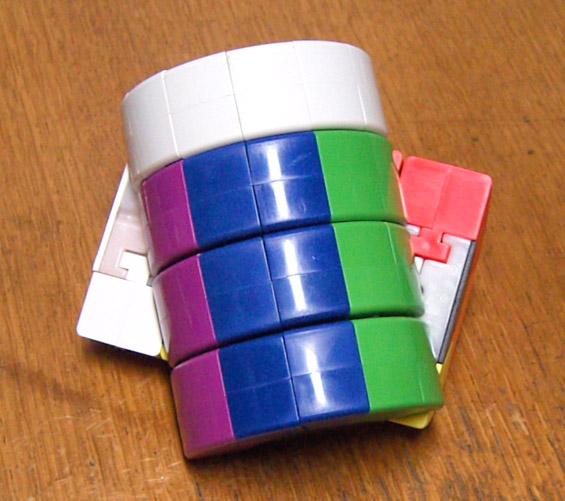
Adding extra layers isn't the only thing a Puck puzzle is good for, but that will have to wait for later.